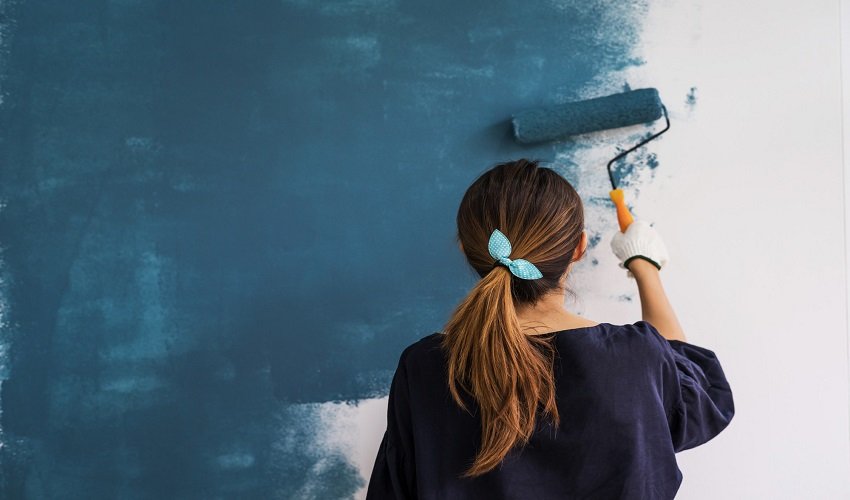
Are you looking to repaint the walls in your house? Are you worrying about now having enough budget for the task? Are you thinking of ways to cut the painting costs?
Then taking the DIY route can be the answer you’re looking for. Data reveals that the average American home spends about $1,804 on interior painting projects.
Though a DIY painting job may seem appealing, there is the risk of committing disastrous painting mistakes. Not sure how to fix painting mistakes on walls?

Continue reading below as we teach you the basics of fixing painting mistakes the right way.
The Paint Drips
Let’s start with one of the most common yet visually annoying painting mistakes: paint drips. These paint drips, paint runs, or minor spills are quite common for amateur painters.
Paint drips occur when you soak your roller with too much paint. Once the paint dries up, they will result in drips that are instant eyesores.
Thankfully, you can still turn the tide to your favor with a little help of some elbow grease. Begin by taking your trusty scraper and gently scrape off the areas with the paint runs. Thereafter, take your sandpaper and start sanding the area.
You want to surface to reach a smooth texture. Complete the process by applying a fresh coat of paint on the sanded area.
Poor Surface Preps
Another common mistake in DIY paint jobs is failing to prepare the surface before the paint application. Preparing the surface entails some non-negotiable practices. First, you need to ensure that the surface is thoroughly clean.
You should also sand it evenly. You should eliminate any sign of loose flaking paint and contaminants. To ensure the surface is clean, perform the adhesion test.
Apply some adhesive film over the old paint and cut an “X” through a clean area using a blade. Put some cellulose tape across the area that you cut and rip it off. If the paint came off with the tape, it means you should remove the old paint completely before applying the new one.
Also, don’t forget to apply an undercoat. The undercoat lets you enjoy opacity, stain blocking, and better coverage over dark colors. It will yield good adhesion and a better paint finish.
Over-Brushing
Over-brushing may sound like a simple mistake, but its results can sometimes be visually catastrophic especially to the keen eye. Over-brushing can lead to uneven coverage.
Hence, the key is using the right amount of paint for every round of application. Dip your brush into the paint but make sure to get the right amount. Thereafter, quickly stroke the brush over the area.
Use another stroke or two to level the paint off. Avoid over-brushing the same area especially when the paint is already starting to dry.
This will only cause those unwanted streaks and uneven finish. Additionally, make sure to invest in a good paintbrush. When buying paint brushes and rollers, make sure to read the instructions.
Check the specifications and see if they match your requirements.
Wrong Paint, Wrong Color
Another mistake that you should learn to address is when you pick the wrong kind of paint and the wrong color too. A common error is using water-based paint on wallpapers.
Sure, there should be no problem painting over your old wallpapers. However, you should only do so if you are using an oil-based primer. Water-based paint will only result in your wallpaper peeling.
But what if you picked the wrong colors only to realize it late in the game? The best solution is to stick with your decision and live with it. If you cannot, adjust the current paint by reapplying a new one.
The key is to use only small amounts of color as you adjust.
But why go through all this hassle when you can prevent it from happening? Before repainting your walls, get some 3mm MDF sheets. Prime the sheets and allow them to dry.
Thereafter, paint the sheets with some color samples that you like. Allow the paint to dry before placing them around your home. You want to check how the colors look during the day and at night.
Those Nasty Bubbles
Bubbles showing up on your wall paint can look nasty. These bubbles or blisters appear for different reasons. It may be a case of poor surface preparation.
Sometimes, it is the wall that’s the problem. If there are leaks on the wall, it can cause moisture to develop. Moisture equates to paint bubbles.
If you see bubbles starting to appear, wait till the full drying time. Afterward, scrape and sand off the bubbles. Complete the process by applying priming before repainting the area.
The Ugly Roller Marks
Roller marks can also mess up a rejuvenated wall. To address this, wait for the paint to dry before reapplying another coat.
Use the same roller that you used but this time, start from one corner until you reach the other end. You also want to keep a wet edge of paint as you cross from one corner to another.
Those Missed Spots
Do you see several missed spots on your wall? The solution is the paint that you used. Get your trust brush and dip it to a small amount of paint. Slowly touch up the missed spots until the paint looks even.
Keep in mind that this can be tricky. Without a steady hand, you may mess up your wall even more.
As much as you want to turn your walls into a giant canvas to express your creativity, it doesn’t always work that way. There are times when you need the help of a professional painting contractor to fix your mistakes.
Keep in mind that learning how to fix painting mistakes on walls is not an overnight thing. Sometimes, it’s a trial and error; hit or miss affair. There are also proper paintbrush techniques that you need to master.
Now You Know How to Fix Painting Mistakes on Walls!
Knowing how to fix painting mistakes on walls can save you a lot of time and resources. But you need to have the right tools and the right mindset to pull off the job. But repainting your wall is only one of the skills you need to learn.
Increase your home improvement knowledge by reading our other articles. We discuss tips and tricks that will help you complete your projects the right way.


