 Introduction:
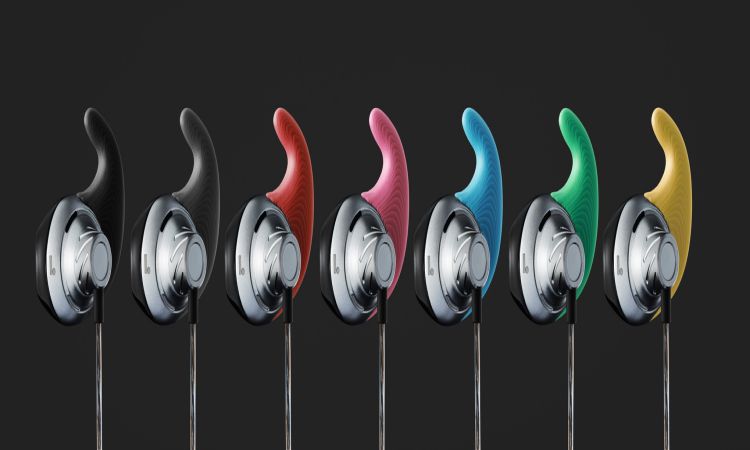
Are you wondering about changing your earphones to a new one that will fit your earbuds easily? If your search is taking a lot of time to find the best earbuds that will easily fit your buds, then you need to consult this amazing guide on earphones. It has occurred to us that the 3d printed earphones are the ones that are made with perfect fittings for everyone’s earbuds. These earphones are the outcome of 3d printing and digital technology. You will find them good enough for your needs and desires.
This piece of writing has brought some amazing things that you need to know about 3d printed earphones. You will learn about these earphones and how to make them for you. So, stay tuned and ready.
How to make 3d printed earphones for you?
Making or creating these earphones will ask you a few things. You will be adorning your precious time and efforts, and the results will be in your favor. If you want to make a 3d printed earphone for yourself, then you need to learn the following steps and Instructables.
Collected the needed tools:
The first thing is to collect the needed tools. The items you need for this amazing creation are listed here.
- 3D printer
- Soldering iron and solder
- Pliers
- Knife
- Scraper
- Collect the needed materials
The first thing is to collect the needed materials. The things you need for this amazing creation are listed here.
- Drivers
- Glue
- Wire
- Cable
- Audio jacks
- Ear cushions
- Solder
Solder the hookup wire to the jacks:
After collecting materials and tools, you will need to cut the hookup wire into four equal pieces. Make sure that you have removed the jacks of the plastic wires. Now you will be soldering the positive wire onto the small tab and the negative wire onto the large tab.
Now join jacks and drivers to the baffles:
After soldering the hookup wire to the jacks, you will have to join and attach jacks with the baffles. Make sure that you have also attached drivers with the baffles. You need to be extra careful with this attachment to avoid any damage.
Solder your hookup wire to the drivers:
Now you will be soldering the hookup wire to the drivers. Make sure that you have soldered the correct wires with the correct terminals. The red terminal is positive, while the other is negative.
Tunning of sound:
In this part, you will have to tune the sound to check whether your earphones are workable. Make sure that the bass of your earphones is compatible with its treble. Or else, you will be getting too heavy bass that your earphones won’t handle easily.
Assemble all the things:
Now you will be giving the final touch to your newly crafted earphones. For this purpose, put all the things together to make your earphones run.
You will be attaching the fabrics and drivers with the baffles. You will also fit the cushions to the baffles.
Wrap up:
Scanning your ears and then printing the same scan of your ears with 3d printing technology is the key behind working these 3d printed earphones. So, get one for you as well.


