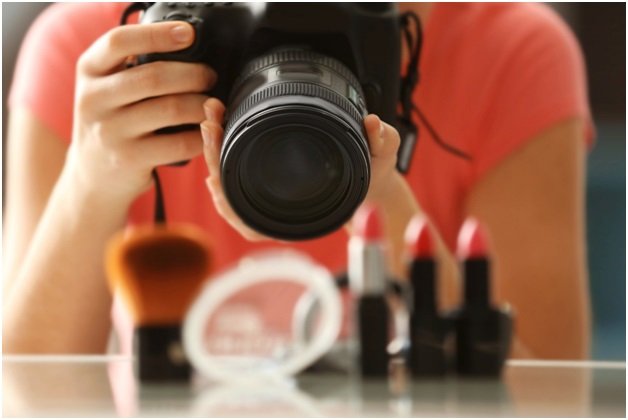
Nearly half of customers consider online product photos pivotal, reports a Splashlight survey. You’ve got your product. You’ve identified your target audience. Why hold back your results with poor product photos? Choosing the best light for product photos can boost your conversions.
You can learn this skill, and we can show you how.

Read on for your guide to the best light for product photos.
Choosing the Best Light for Product Photos
Outdoor products look best in outdoor light, so set up your shoot on a bright day. Shoot at the golden hours, dawn, and dusk for the best natural light. You can choose LED panels, tungsten, or fluorescent bulbs for artificial light sources. Each has a different color temperature. The warm light looks golden; the cool light has a blueish tint.
Soft light is diffused, dispersed, and casts softer shadows. This makes your product photos look smoother. Skin tones benefit from soft light. This is a concern mainly in Beauty photography to have an accurate enhancement of skin tones Hard light casts sharp shadows. For products with bold textures or angles, hard light is the way to go.
How to Arrange Your Product Photos
Your lighting should include a key light, a front or fill light, and a backlight. Your key light is your main light source. Your front light fills in harsh shadows. Your backlight separates your product from your background. Click for image masking tools to take away unwanted background elements. The distance of your product from your light source sets the hardness of the light. Use the inverse-square law to determine your distance.
Tools for Product Photos
A tripod keeps your shots sharp and lets you use lower shutter speed settings. This will keep your ISO low. More on that later. Lighting stands let you set up your bulbs at varying distances. Diffuse lighting with white foam boards or umbrellas to soften their glow. You can use sweep background cards to give a pure white backdrop. Light boxes work well for smaller products.
How to Take a Good Product Photo
Set your ISO as low as possible to reduce noise in your image. If the lighting is low, use a slower shutter speed with a tripod before you increase ISO. A wide aperture will give you a nice bokeh effect. This is a shallow depth of field which blurs the background of your product photos. Compose using the rule of thirds to enhance interest. The auto-white balance works most of the time. Direct sunlight or cloudy settings add warmth. Fluorescent or tungsten cools things down.
Shoot in RAW format. This gives you more options at the editing stage.
Product Photo Editing Tips
Fix any lighting or contrast with a levels or curves tool. Shooting in raw lets you raise or lower exposure, as well as the shadows and highlights. Fix any unwanted color casts with a color balance tool. You can change color temperature and tint in your photo editor too. Boost sharpness with an unsharp mask tool or similar. Pay attention to the threshold and radius settings. Reduce noise to smooth out your image. If you shot on low ISO, you should only need to make minor edits here.
Export your image as a JPEG, PNG, or whichever format suits your medium.
Looking Sharp?
You can boost your conversions with the best light for product photos. Practice and get your images out there! Teach yourself the fundamentals of photography. Give yourself an edge over your competition. Choose the right tools and edit to perfection. We hope you enjoyed our guide to product photography tips. We have more tech, business, and lifestyle reads for you. Check out the rest of our site today!


